What to Expect During Your First PRP Session

Platelet-rich plasma (PRP) has gained recognition across various fields, from sports medicine to aesthetics and wellness. Whether you’re an athlete seeking faster recovery, a beauty enthusiast exploring hair restoration, or someone eager to rejuvenate your skin, PRP could be the treatment you’re looking for. If you’re about to experience your first PRP session, here’s a general overview of what to expect.
Understanding PRP
PRP involves using your blood to promote healing and regeneration. The procedure extracts and concentrates platelets (the healing components of your blood) to stimulate tissue repair and rejuvenation. It’s widely used in sports injury treatments, skin rejuvenation, and hair growth interventions.
Now that you know the basics of PRP, let’s break down what your first session could look like.
Step 1: Consultation
Before your PRP therapy begins, your practitioner will assess your suitability for the treatment. During this consultation:
- Medical history reviews: The provider will ask about your medical history to evaluate whether PRP is safe.
- Treatment goals: Whether for smoother skin, faster injury recovery, or hair restoration, share your specific goals. This will help them design a personalized treatment plan.
Step 2: Preparing for the Session
Unlike more invasive procedures, prepping for PRP therapy is minimal. Nevertheless, your provider might:
- Recommend avoiding anti-inflammatory medications (e.g., ibuprofen) and blood-thinning substances for a few days before the procedure.
- Advise staying well-hydrated and having a light meal on the day of your appointment.
Step 3: Blood Draw
The session begins with a quick blood draw, typically from your arm. This is very similar to a routine blood test. If needles give you anxiety, don’t worry—all practitioners aim to make this step as comfortable as possible.
Step 4: Separating the Platelets
Once your blood is drawn, it’s placed in a centrifuge device. The centrifuge spins your blood quickly to separate the plasma and platelets from other components. This concentrated solution is the key to making PRP effective. The process usually takes 10–15 minutes, during which you can relax and wait.
Step 5: Application of PRP
The way PRP is applied depends on your reason for treatment:
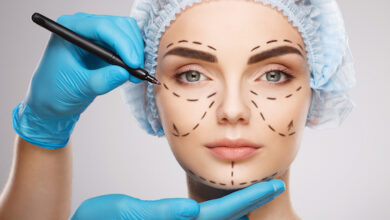
- For Skin Rejuvenation: PRP is typically injected into target areas, such as fine lines, wrinkles, or scars. Some practitioners may combine it with microneedling for enhanced results.
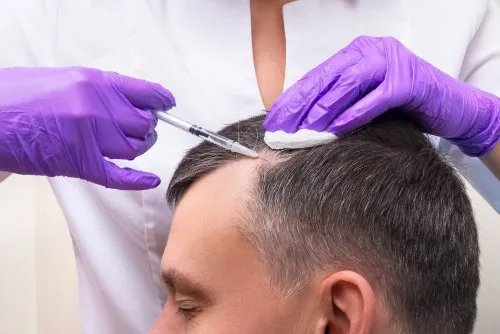
- For Hair Restoration: PRP is injected into areas of the scalp where hair thinning or loss has occurred.
- For Injury Recovery: Here, PRP is precisely injected into the injury site, such as a joint, muscle, or tendon.
Step 6: Post-Treatment Care
Once the treatment is complete, your practitioner will share instructions for aftercare. These might include:
- Avoid strenuous activity for a day or two.
- Keeping the treated area clean.
- Avoiding harsh skincare products or heat exposure, especially after facial PRP.
Mild swelling, redness, or tenderness is normal and should subside within a few days. Follow up with your practitioner if you experience any prolonged side effects.
Step 7: Results and Follow-Ups
While some results may appear quickly, such as glowing skin, others—like hair growth or injury recovery—might take a few weeks as your body responds to the treatment. Most patients require multiple sessions for optimal results, which will be tailored to your unique needs. PRP is a natural treatment that uses your biology to restore, heal, and rejuvenate. Whether you’re exploring it for aesthetic or medical purposes, the key is working with a knowledgeable and skilled provider who can tailor the treatment to your specific needs.


