What to Expect During an HVAC System Installation from a Professional Company?
Installing a new HVAC system is a significant investment in your home’s comfort and energy efficiency. Whether upgrading an outdated unit or replacing a malfunctioning system, working with a professional HVAC company ensures the process and installation are smooth. Understanding what to expect during the installation can help homeowners prepare and feel more confident about the project. From the initial assessment to the final inspection, the installation involves several important steps, ensuring the new system operates efficiently and effectively. We will explore the key stages of an HVAC system installation in Santa Maria, CA, and what homeowners can expect when working with a professional company.
Key stages of an HVAC system installation
1. Initial Home Assessment and Load Calculation
Before the installation begins, an HVAC company will conduct an initial home assessment to determine the appropriate size and type of system needed. This process, known as a load calculation, considers factors such as the home’s square footage, the number of windows, the level of insulation, and the local climate. By evaluating these elements, the HVAC professionals can recommend a system that is neither too large nor too small, ensuring optimal energy efficiency and comfort. Homeowners can expect the company to explain the options available, including different brands, efficiency ratings, and system features, helping them make an informed decision. This initial assessment is a crucial step in ensuring that the installation is tailored to the home’s specific needs.
2. Removal of the Old System
Once the new HVAC system has been selected, the next step is to remove the old system, if applicable. This involves disconnecting the existing unit and safely removing it from the property. During this process, the HVAC team will ensure that refrigerants and other potentially harmful materials are handled according to environmental guidelines. Removing the old system typically takes a few hours, depending on the complexity of the setup and whether any additional components, such as ductwork or wiring, need to be replaced. Homeowners should expect some noise and activity during this stage, but professional HVAC companies minimize disruption and keep the work area clean and safe.
3. Preparing the Installation Area
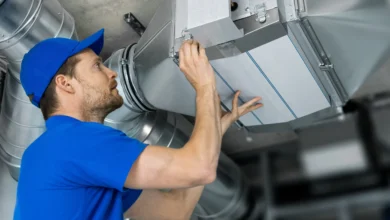
The area must be properly prepared before the new HVAC system can be installed. This may involve cleaning or modifying the existing ductwork, ensuring that electrical connections are in place, and making space for the new equipment. Suppose the installation includes a new furnace or air handler. In that case, the technicians may need to adjust the current setup, such as modifying ventilation systems or reinforcing the structure where the new unit will be housed. The preparation phase ensures the new system integrates seamlessly with the home’s infrastructure. HVAC professionals take the time to ensure that everything is ready, which helps prevent issues during the actual installation.
4. Installing the New System
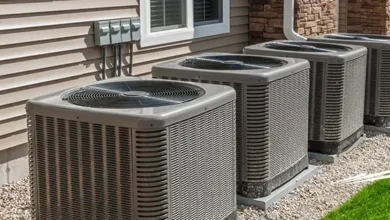
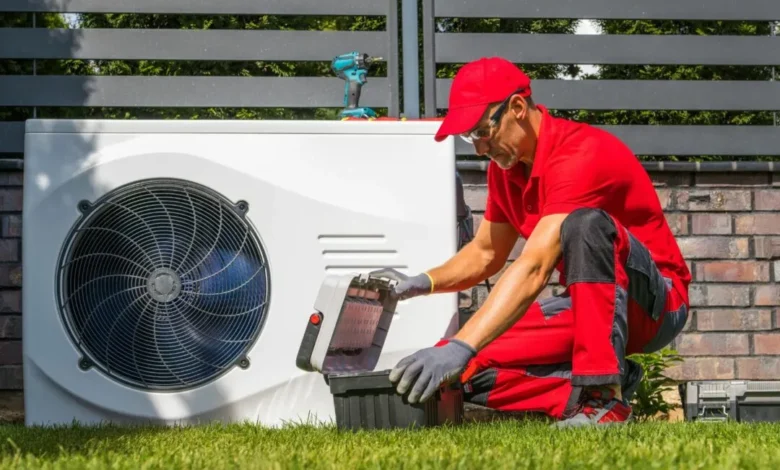
Installing the new HVAC system is the most crucial part of the process. During this stage, the HVAC technicians will install the system’s major components, such as the air conditioner, furnace, heat pump, or air handler, along with any additional parts like thermostats or humidifiers. This can take several hours or even a full day, depending on the system’s complexity and the home’s size. The technicians will carefully connect the system to the home’s electrical and ventilation systems, ensuring everything is properly aligned and secured. Homeowners can expect the HVAC team to work efficiently while ensuring all safety protocols are followed. Once the system is in place, the technicians will begin the process of testing and calibrating it to ensure it functions as expected.
5. Testing and Calibration
After the physical installation, the HVAC system must be tested and calibrated to ensure it operates at peak performance. During this phase, the HVAC technicians will test the system’s airflow, refrigerant levels, and electrical components to verify that everything functions correctly. They will also check the thermostat to ensure it properly communicates with the system and maintains the desired temperature. Homeowners can expect the HVAC team to conduct a series of tests to confirm that the system is heating and cooling effectively and running efficiently. This step is crucial for identifying potential issues before the system is fully operational and ensuring that the new installation will provide long-term comfort and reliability.
6. Final Inspection and Walkthrough
Once the HVAC system has been installed and tested, a final inspection is conducted to ensure everything works. The HVAC company will review the entire installation, checking for any loose connections, potential safety hazards, or areas requiring additional attention. Homeowners can expect the technicians to explain the system’s features and how to operate it properly. This includes instructions on how to set the thermostat, how often to change air filters and tips for maintaining the system to ensure its longevity. The walkthrough also allows homeowners to ask questions about the system’s operation, energy efficiency, or warranty details.
An HVAC system installation involves a series of well-coordinated steps, from the initial assessment to the final walkthrough. We will explore how working with a professional HVAC company ensures that each process phase is completed efficiently and with attention to detail. Homeowners can expect a seamless experience, with the company handling everything from removing the old system to testing the new one for optimal performance. A successful installation improves home comfort and enhances energy efficiency, resulting in long-term cost savings and reliable operation. Proper preparation and understanding of the installation process help homeowners feel confident in their investment and ready to enjoy the benefits of their new HVAC system.
